Latte art has become a hallmark of skilled baristas and a favorite visual delight among coffee lovers worldwide. Creating beautiful patterns on espresso-based drinks elevates the coffee experience and showcases a barista’s craftsmanship. If you’re new to latte art, mastering the basics requires practice, patience, and understanding the key elements involved. This beginner’s guide will walk you through everything you need to know—from equipment and techniques to common mistakes and tips for success.
What Is Latte Art?
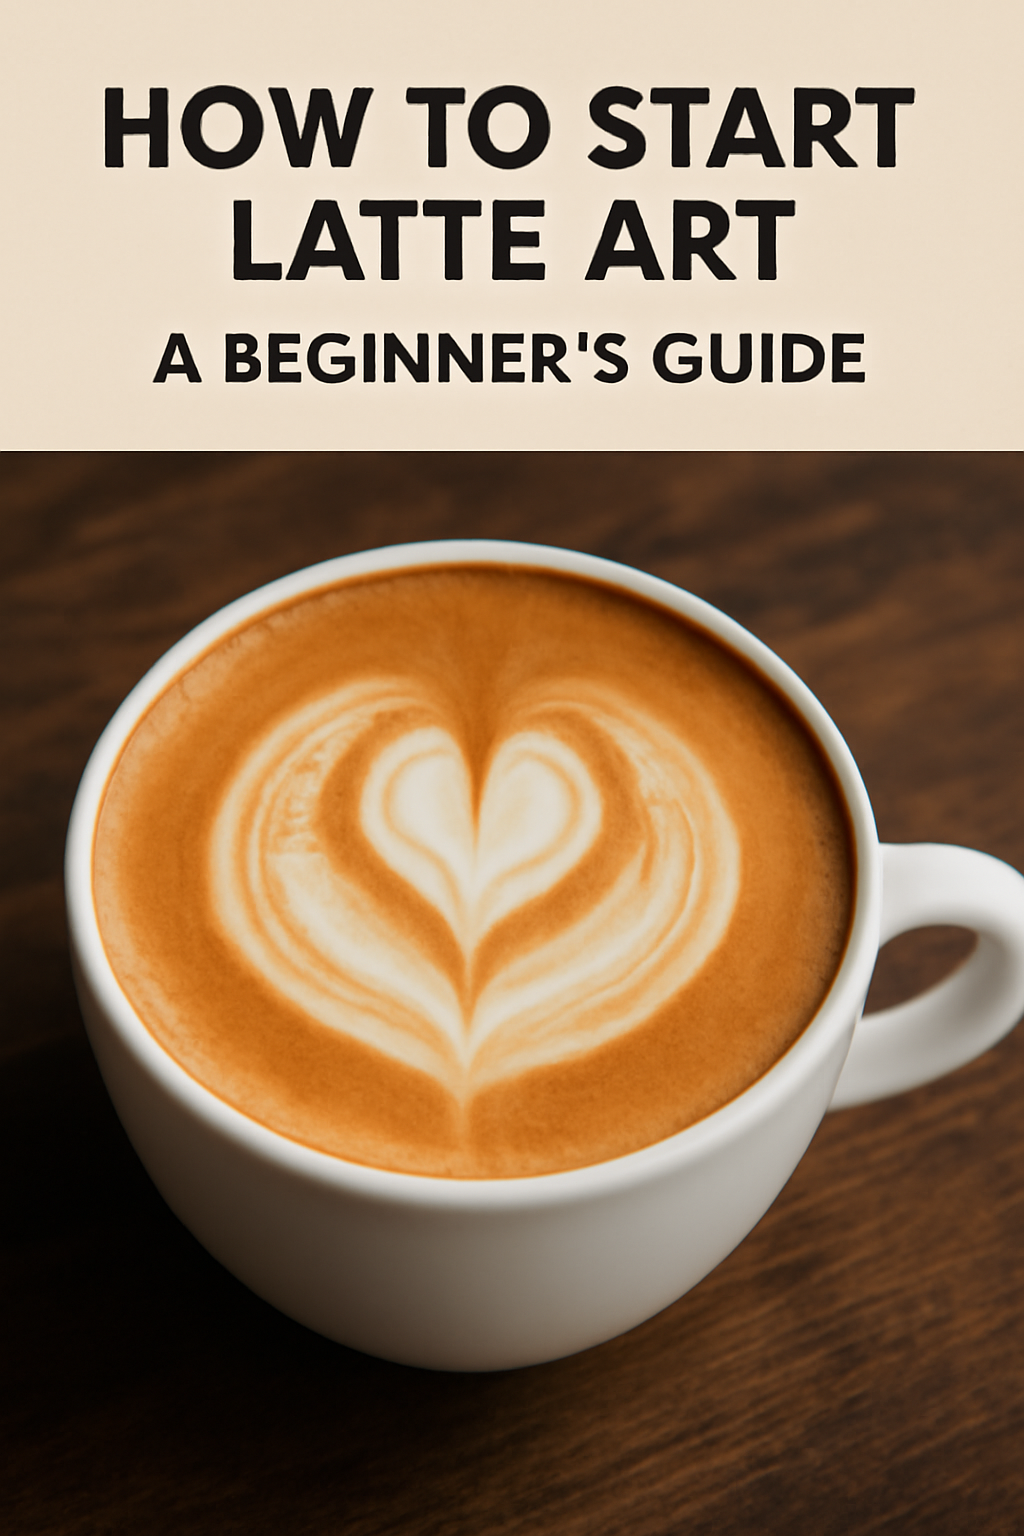
Latte art refers to the patterns or designs made on the surface of espresso drinks by pouring steamed milk into the espresso. The contrast between the creamy microfoam and the rich espresso crema creates visually stunning images such as hearts, rosettas, and tulips. While primarily decorative, latte art also reflects the quality of milk texturing and pouring skill.
Latte art enhances the sensory experience by adding an aesthetic element to the flavor and aroma of coffee, making each cup feel special and personalized.
Essential Equipment for Latte Art Beginners
- Espresso Machine with Steam Wand: A reliable machine that produces consistent pressure and temperature is essential for quality espresso and milk steaming.
- Burr Grinder: Freshly ground coffee with a consistent grind size ensures a good crema base for latte art.
- Milk Pitcher: Choose a stainless steel pitcher with a sharp, narrow spout to control milk flow during pouring. A 12-ounce pitcher is ideal for beginners.
- Thermometer (Optional): Helps monitor milk temperature to avoid overheating.
- Cup: A wide-mouthed cup (6 to 10 ounces) allows better control and visibility while pouring.
Step 1: Pull a Quality Espresso Shot
The foundation of great latte art starts with a perfect espresso shot. Use freshly ground coffee, dose correctly (usually 18-20 grams for a double shot), tamp evenly, and extract between 25 to 30 seconds. A good crema—thick, golden, and smooth—is essential for the contrast needed in latte art.
Step 2: Steam Milk to Create Microfoam
Steamed milk with microfoam is critical for latte art. Microfoam consists of tiny, uniform bubbles that create a silky, glossy texture. Use fresh, cold milk and follow proper steaming techniques: introduce air briefly, then submerge the steam wand to heat and texture the milk evenly, aiming for 55°C to 65°C (130°F to 150°F).
Once steamed, tap the pitcher on the counter to remove large bubbles and swirl to integrate the foam and liquid, producing a smooth surface.
Step 3: Understand the Basics of Pouring
Pouring technique determines the clarity and definition of your latte art. Hold the cup at a slight angle and start pouring milk slowly into the center of the espresso to mix. Once the cup is about half full, lower the pitcher and pour faster with a gentle side-to-side motion to create the design.
Maintain steady hand movements and control the flow rate by adjusting the height and tilt of the pitcher.
Step 4: Practice Basic Patterns
Start with simple shapes before progressing to complex designs. The most common beginner patterns include:
- Heart: Pour steadily into the center, then lift the pitcher and draw a line through the center of the circle to form the heart shape.
- Rosetta: Create a zigzag pattern by gently moving the pitcher side to side while pouring, then finish with a line through the center.
- Tulip: Pour a series of overlapping hearts by raising and lowering the pitcher while maintaining flow.
Practice these patterns repeatedly to develop muscle memory and hand-eye coordination.
Common Mistakes to Avoid
- Milk Too Frothy or Too Thin: Over-aerated milk creates large bubbles and dry foam; under-textured milk lacks body and smoothness. Aim for silky microfoam.
- Pouring Too Fast or Too Slow: Fast pouring can disrupt the crema, while slow pouring may not create clear patterns. Find the right balance.
- Inconsistent Cup Tilt: Holding the cup flat or at inconsistent angles makes it hard to control the design. Maintain a steady tilt.
- Pouring Too High: Start pouring from a higher point to mix milk and espresso, then lower to create art. Pouring too high throughout will break the crema.
Tips for Improving Latte Art Skills
- Use fresh, quality beans and milk for the best results.
- Maintain a clean pitcher and cup to avoid contamination.
- Watch videos and tutorials from professional baristas.
- Attend workshops or coffee courses to get hands-on experience.
- Practice daily, focusing on consistency and control.
- Experiment with different designs and pouring speeds.
The Role of Latte Art in Coffee Culture
Latte art is more than a decorative flourish; it symbolizes the barista’s dedication to quality and craft. It adds value to the customer experience by making each cup unique and engaging. In competitive coffee scenes, latte art skills often differentiate good baristas from great ones.
Beyond Basics: Advanced Latte Art Techniques
Once comfortable with basic designs, explore advanced techniques like:
- Etching: Using tools like toothpicks or latte art pens to draw intricate designs.
- Multi-layered Art: Creating complex patterns by combining multiple pours.
- Colored Latte Art: Using natural color additives like matcha or beetroot for vibrant effects.
Advanced latte art requires more practice and creativity but can be incredibly rewarding.
Conclusion
Starting latte art is a fun and fulfilling journey that enhances your barista skills and delights coffee drinkers. By focusing on quality espresso, perfecting milk steaming, mastering pouring techniques, and practicing basic patterns, you’ll build a strong foundation for creating beautiful coffee art.
Remember, patience and repetition are key. Embrace mistakes as learning opportunities and enjoy the process of turning each cup into a masterpiece.

